Our Muscovy mothers do most of the work for us so we don’t need an incubator or brooder to keep these babies most of the time. But there are several tricks we have learned to keep our ducklings alive, healthy and safe.
First, its important to provide water to your baby ducks. This is obvious, but
baby ducks can easily drown or die of hypothermia, so water must be provided in a safe way. The ducklings must be able to slip in and out of the water container.
The container must not tip over and onto the ducklings, trapping them. Its also important that your water system be easy to clean and stay as tidy as possible. By tidy, I mean that its better that you set up your system to provide as little water mess as possible, because ducklings love their water and are constantly playing with it. They also need their water to clean out their nostrils, and they generally take water with their food which turns their water into a fermented mess. They also enjoy a water bath.
We handle these things here on the Best Homestead by starting out small with a conventional waterer set on large pine chips. Mommy duck isn’t so happy with this set-up but its workable for her. The babies can’t eat the larger pine chips even though they might try. I dip all the baby’s tiny bills in the food and water so they figure out what both these things are for. Once they can reach, I set the waterer above the chips using 3 bricks-this helps keep the chips out of the water. We only use the waterer for the first week or so.
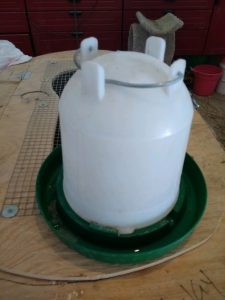
Conventional waterer that is used first for new hatchling ducklings.
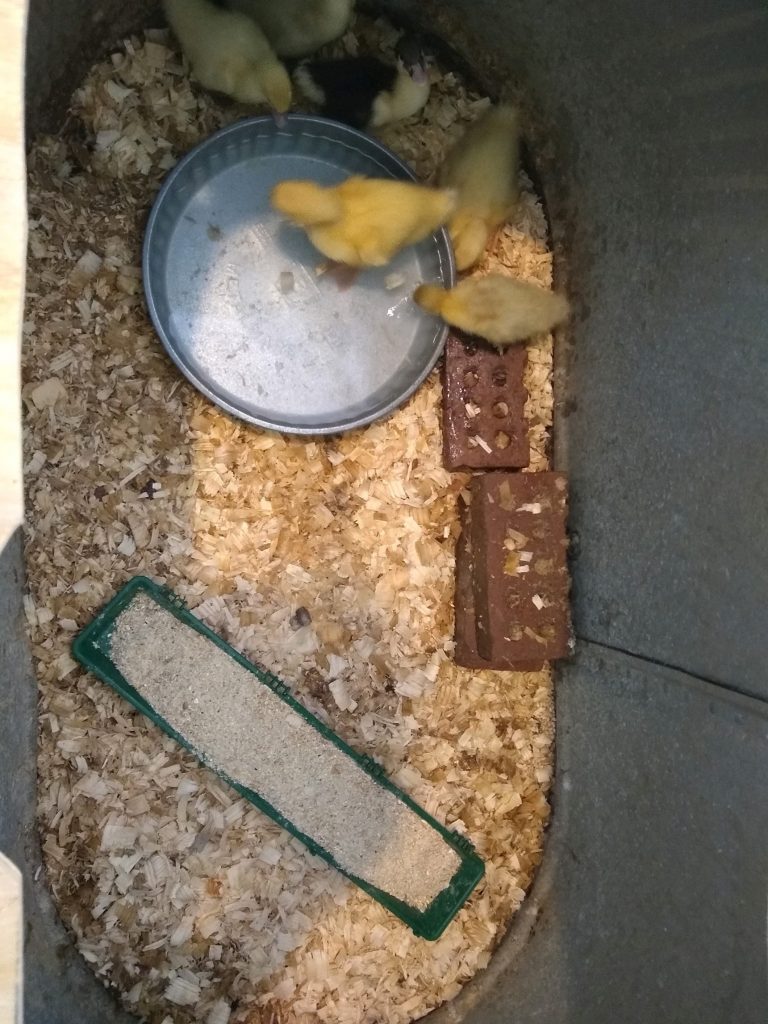
The next step is to switch to an inch or so deep container. I have used a heavy metal feed pan, a deep dish pizza pan, a broiler pan, a plastic drawer, or anything that is wide and shallow and so isn’t likely to flip on them.

Baby ducks still inside of a brooder with a galvanized metal feed pan for water.
One must be careful, as metal containers can get hot if this is outside in the sun.
After another week or so, we move up to a bigger container, usually a heavy black rubber feed bowl that’s about 2” thick. You can find these at your local farm/feed store. I put a brick on the inside and outside of this so the ducklings don’t get stuck inside the container.
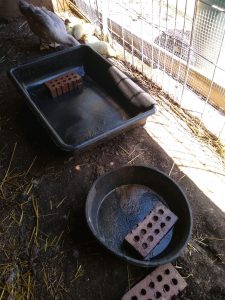
Rubber feed bin w brick and cement mix bin with brick for baby ducks.
**If you’ve ever lost ducklings to drowning like I have- you will never forget to put a brick in the water container.**
This is when you will get to see your ducklings happily snorkeling underwater for the very first time.
The last stage we use for duckling water is a black plastic container used for mixing cement. You can purchase these at any big box lumber/home improvement store. Bricks, or patio stones, placed inside and out of these are very important because ducklings WILL have trouble getting in and out of these. These are big enough for adult Muscovy to use as baths along with the babies and are easy to dump and fill.
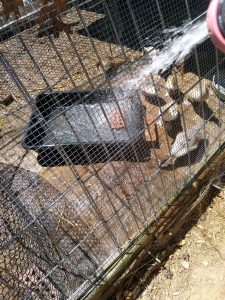
Cement bin w brick in place for baby ducks, being filled from outside hoop house enclosure.
I usually set up our water reservoirs so that I can fill them easily from outside their enclosure with a hose.
I empty these dirty and full containers daily and then they can partially water a garden area along the edge of the hoop house enclosure. There is a dual benefit of having abundant numbers of earthworms under each container every time I lift one. The ducks go wild for this great protein source. So the ducks provide nitrogen for the worms, the containers provide water and shelter for the worms. The worms are a source of food for the ducks. It ends up being a nice vermiculture compost situation right inside their enclosure.
—With ducks, the rule is be able to empty their water and change it, or things will get unbearably smelly and messy very quickly.–
‘Easy’ is for the best and saves time, and my back. Hope this helps with your baby duck raising. We also will have some posts on feeding and breeding.
Below are two videos. The first shows the cement mixing bins that we use for the birds and the worms underneath that provide food. The other one is showing the large cement bins and babies.
Have fun with your baby duckies!